Monday, April 30, 2012

broken pot? fret not!


One of my favorite old pots finally bit the dust last weekend.
Not to worry, we'll just bury it in the garden!


It's as simple as strategically placing the broken side of the pot in the ground,
then planting your flowers or ground cover in a mound to disguise it.
An added bonus, some texture and interest to your garden!

Perfect examples...

bing.com 

dragonflydesignstudios.blogspot.com

chron.com

thegracefulgardener.com

thesagebutterfly.blogspot.ca


gardengirl-lintys.blogspot.com

eons.com


Happy planting!


Sunday, April 29, 2012

diy rope vase


Hope you all had a fun filled weekend!
Did you all call up your pals and invite them over for a little Cinco de Mayo fiesta?

If you're on track and want to make the rope covered vase as a centerpiece,
 I have good news. It is SO easy!! 
  Here is my version of Martha's rope covered urn I showed you last week.


I did a mock up of the Cinco de Mayo table for you so I can share a couple
 ideas before the actual fiesta! If you missed the menu and recipes, go here.

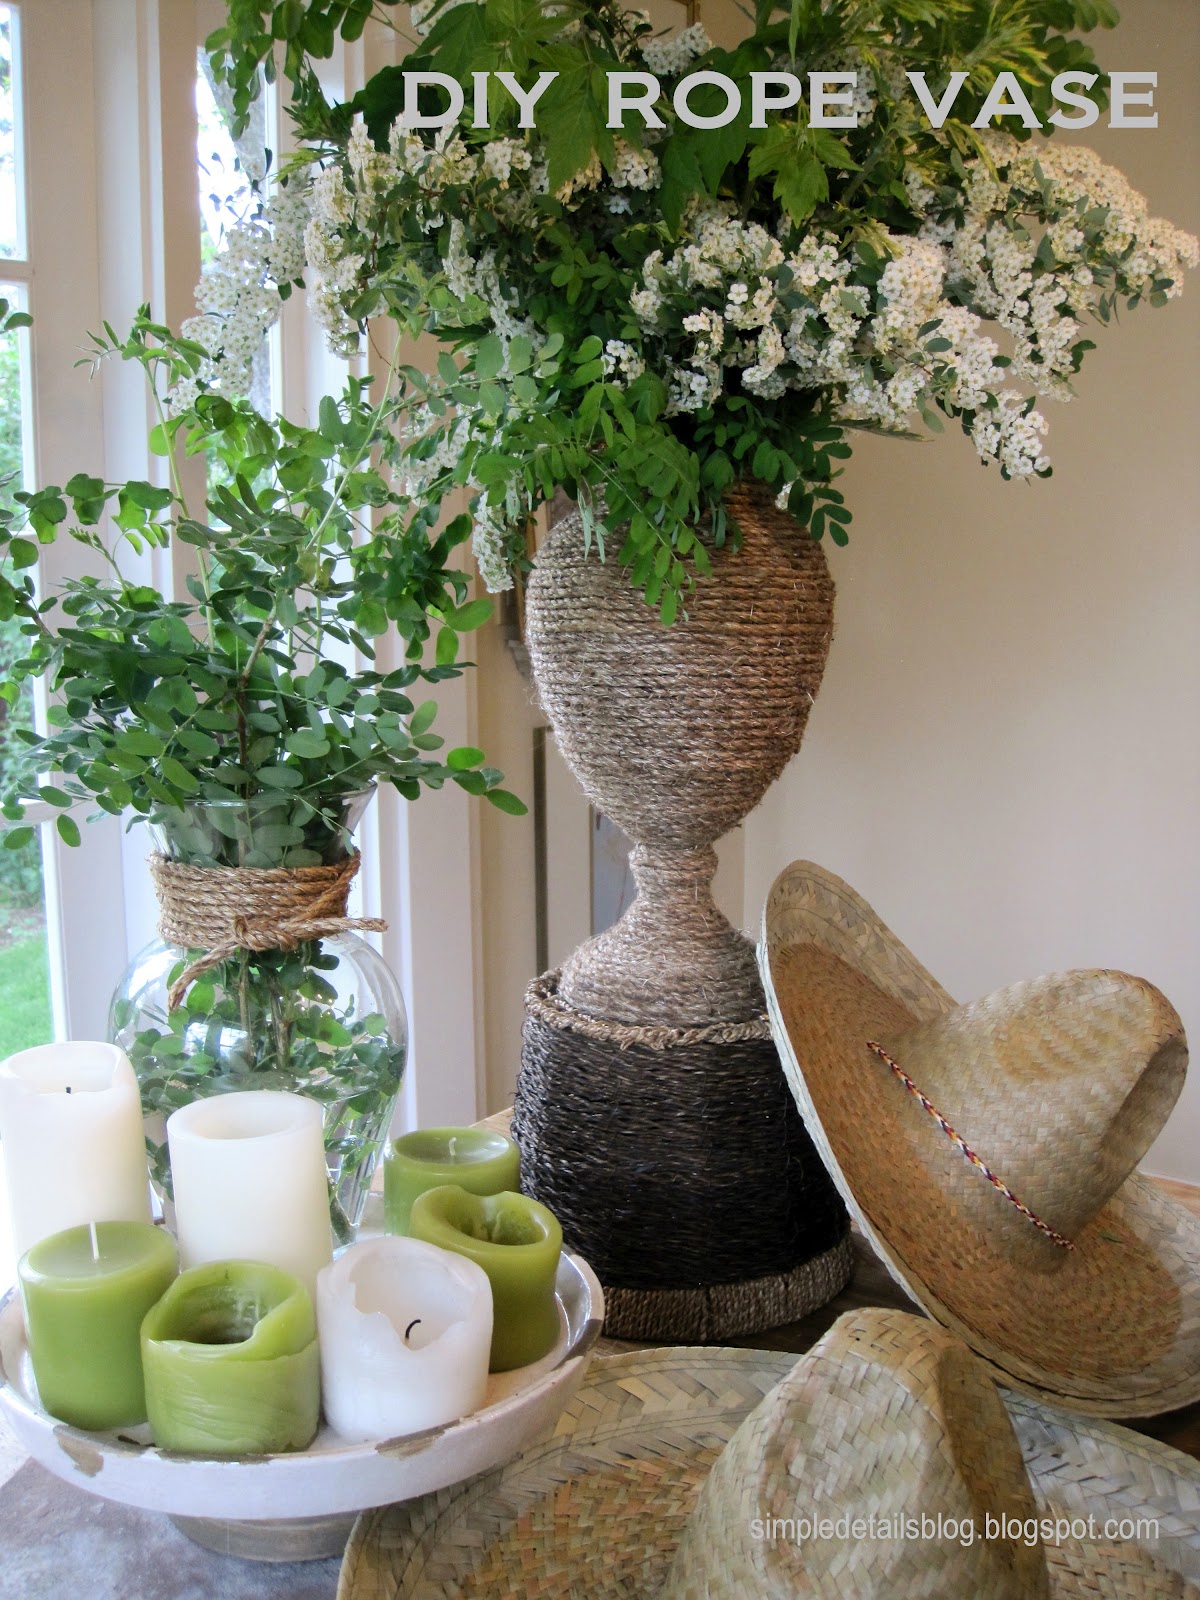
Here it as the centerpiece,  
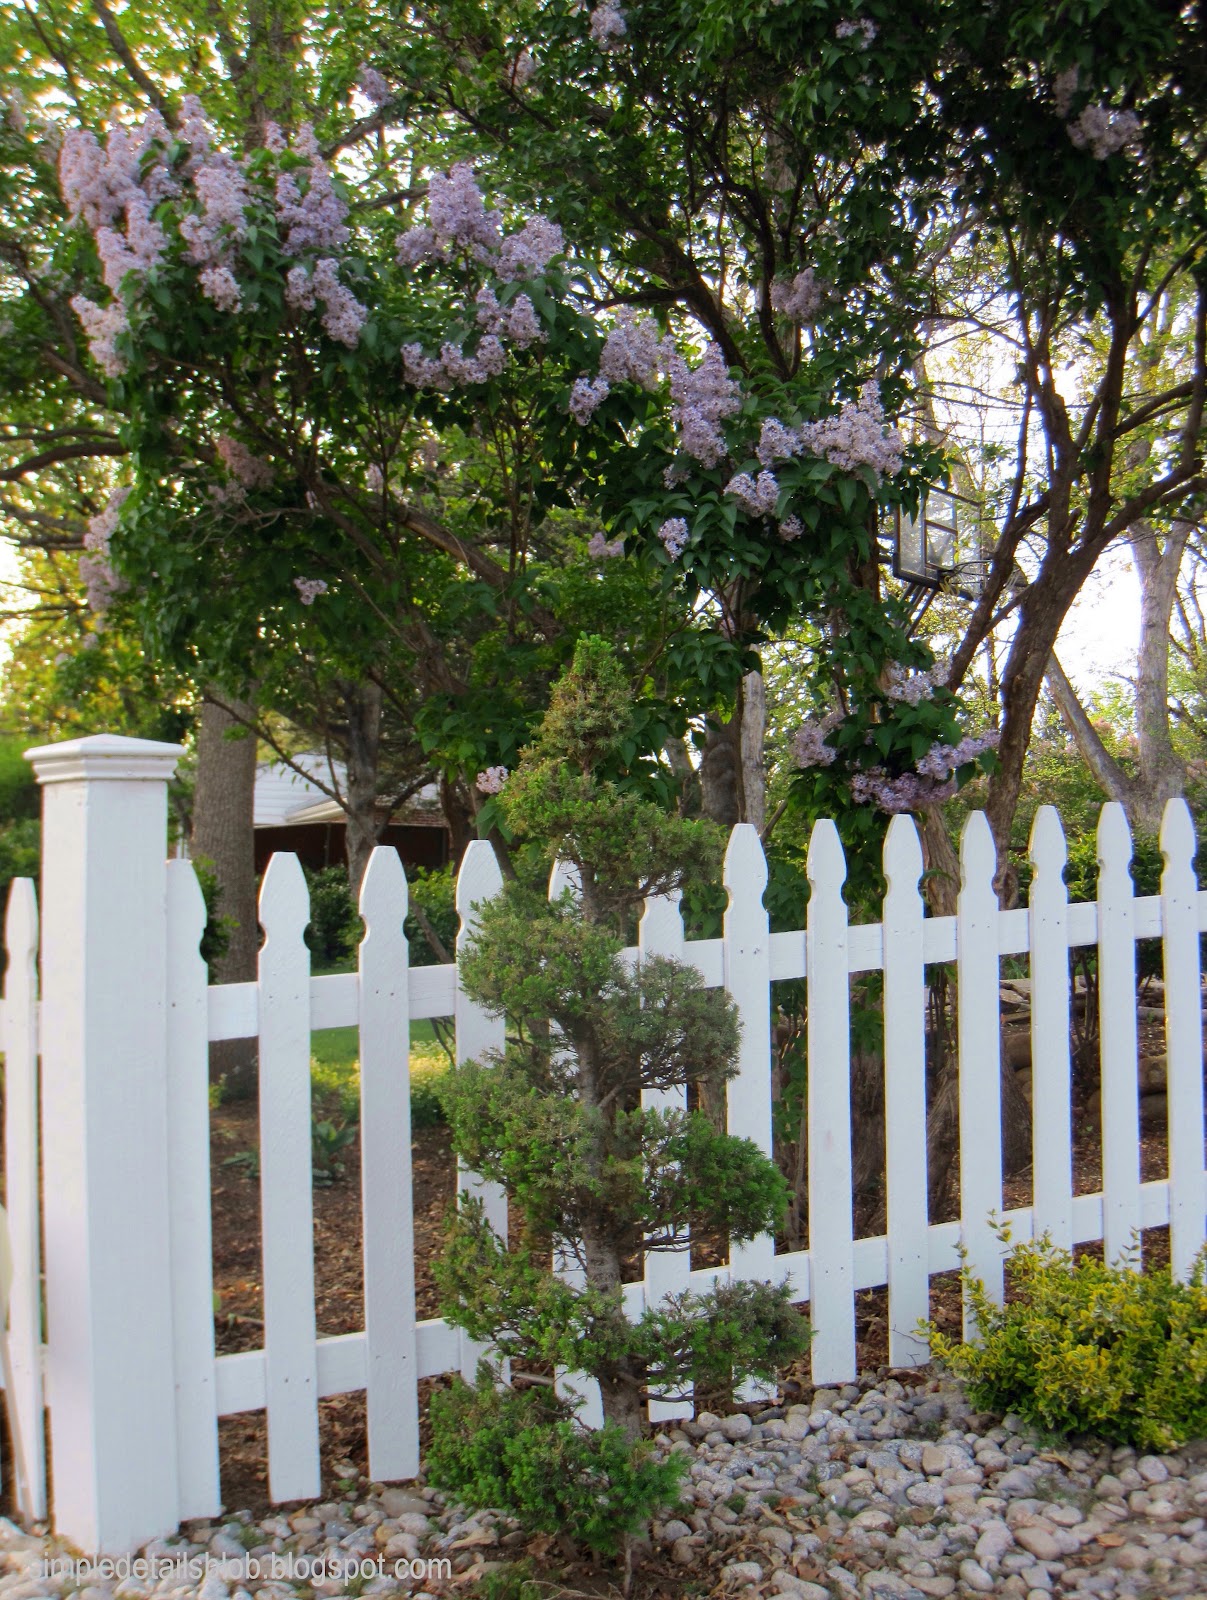
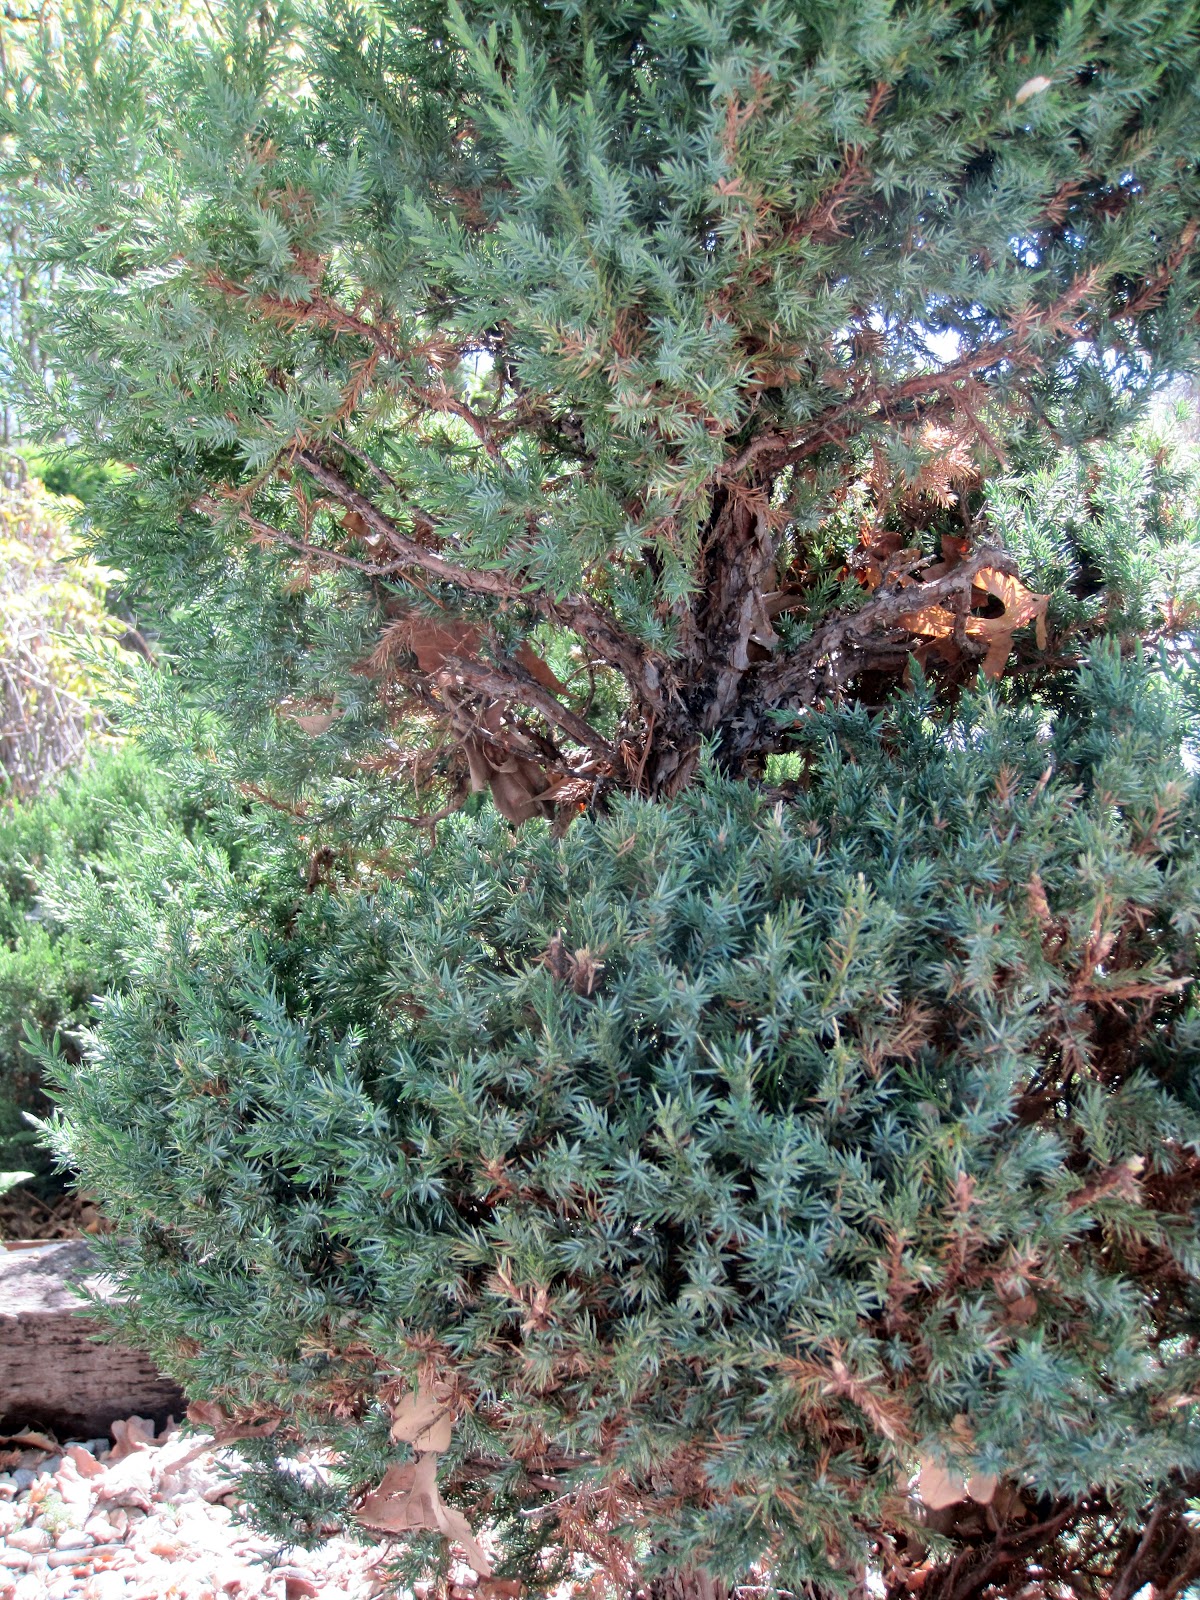
for ours I'll include bright red, yellow and orange flowers with the greenery.
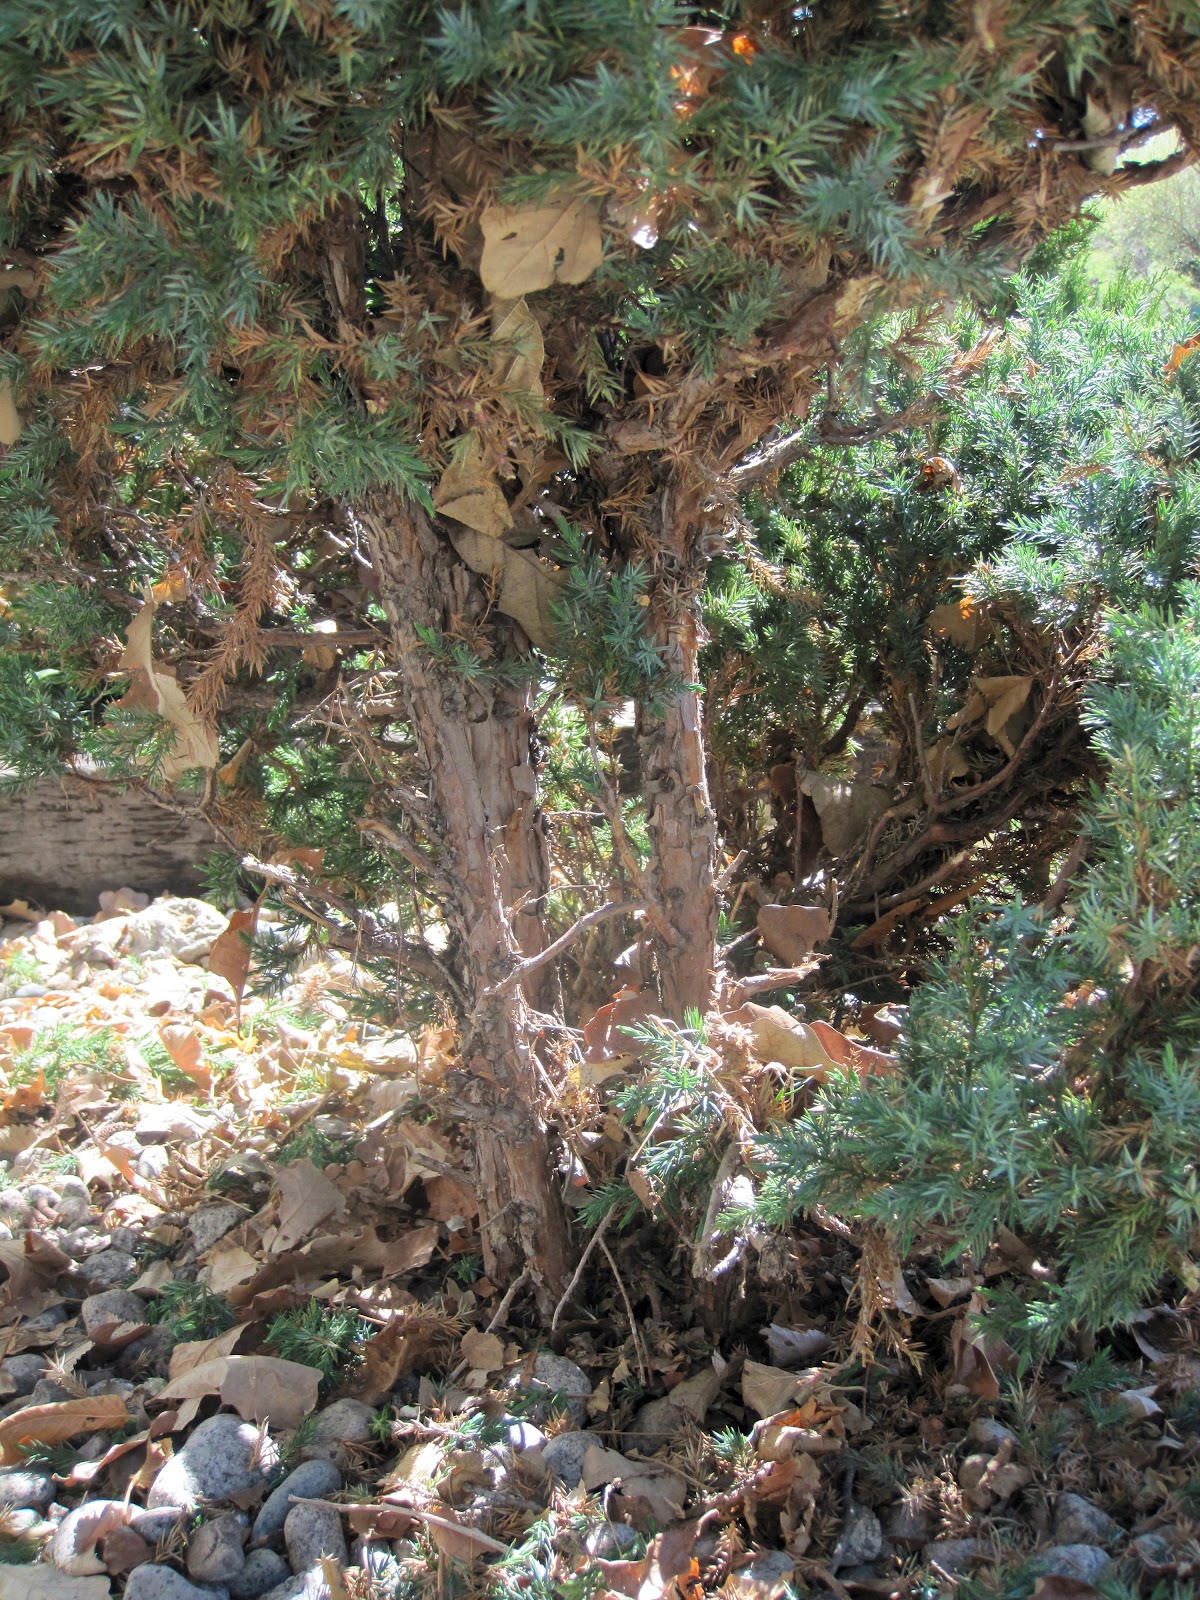
(For you I brought in spirea and cuttings from a tree in our yard)  

For height I used a basket and turned it upside down, the sombreros were
from the Dollar Store a few years ago.


I love the idea of drinks ready and waiting on ice, you can avoid that hectic time
 when you're trying to get everyone situated with drinks and still greet arriving guests.
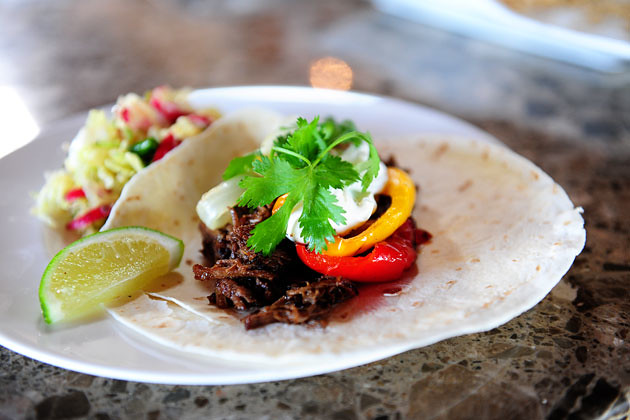
I'll prepare the margaritas with crushed ice and have limes available on the table 
and invite everyone to help themselves.  I still haven't figured out how I could do salt. :)  


When serving buffet style it's easiest if the napkins and silverware are wrapped together,
make sure to put them at the end of the serving line, not the beginning.
I used a terra cotta pot and wrapped them with twine.
I brought out my flagstone pavers again for a rustic touch.
(If you missed it I used them last Thanksgiving here.)


With the extra rope from your project you can wrap additional vases.
When you're doing your grocery shopping grab an extra bunch of cilantro and add to
a vase as greenery on your table.
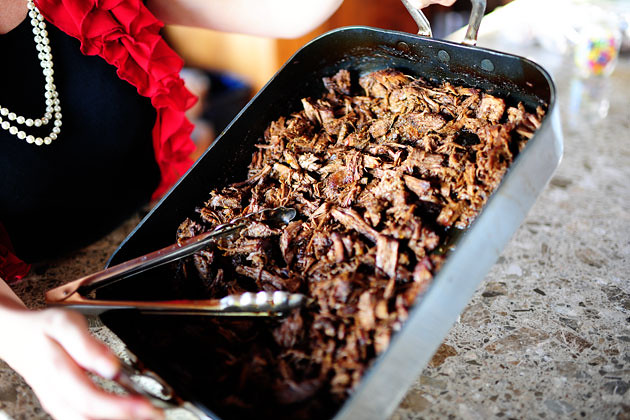
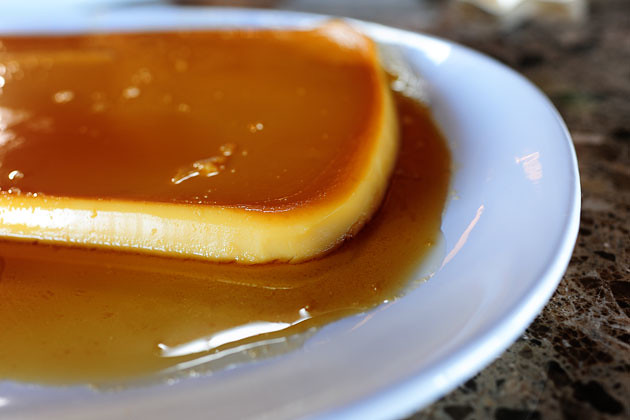
We'll serve the customary chips, salsa and ceviche for munching.


Onto the diy... 
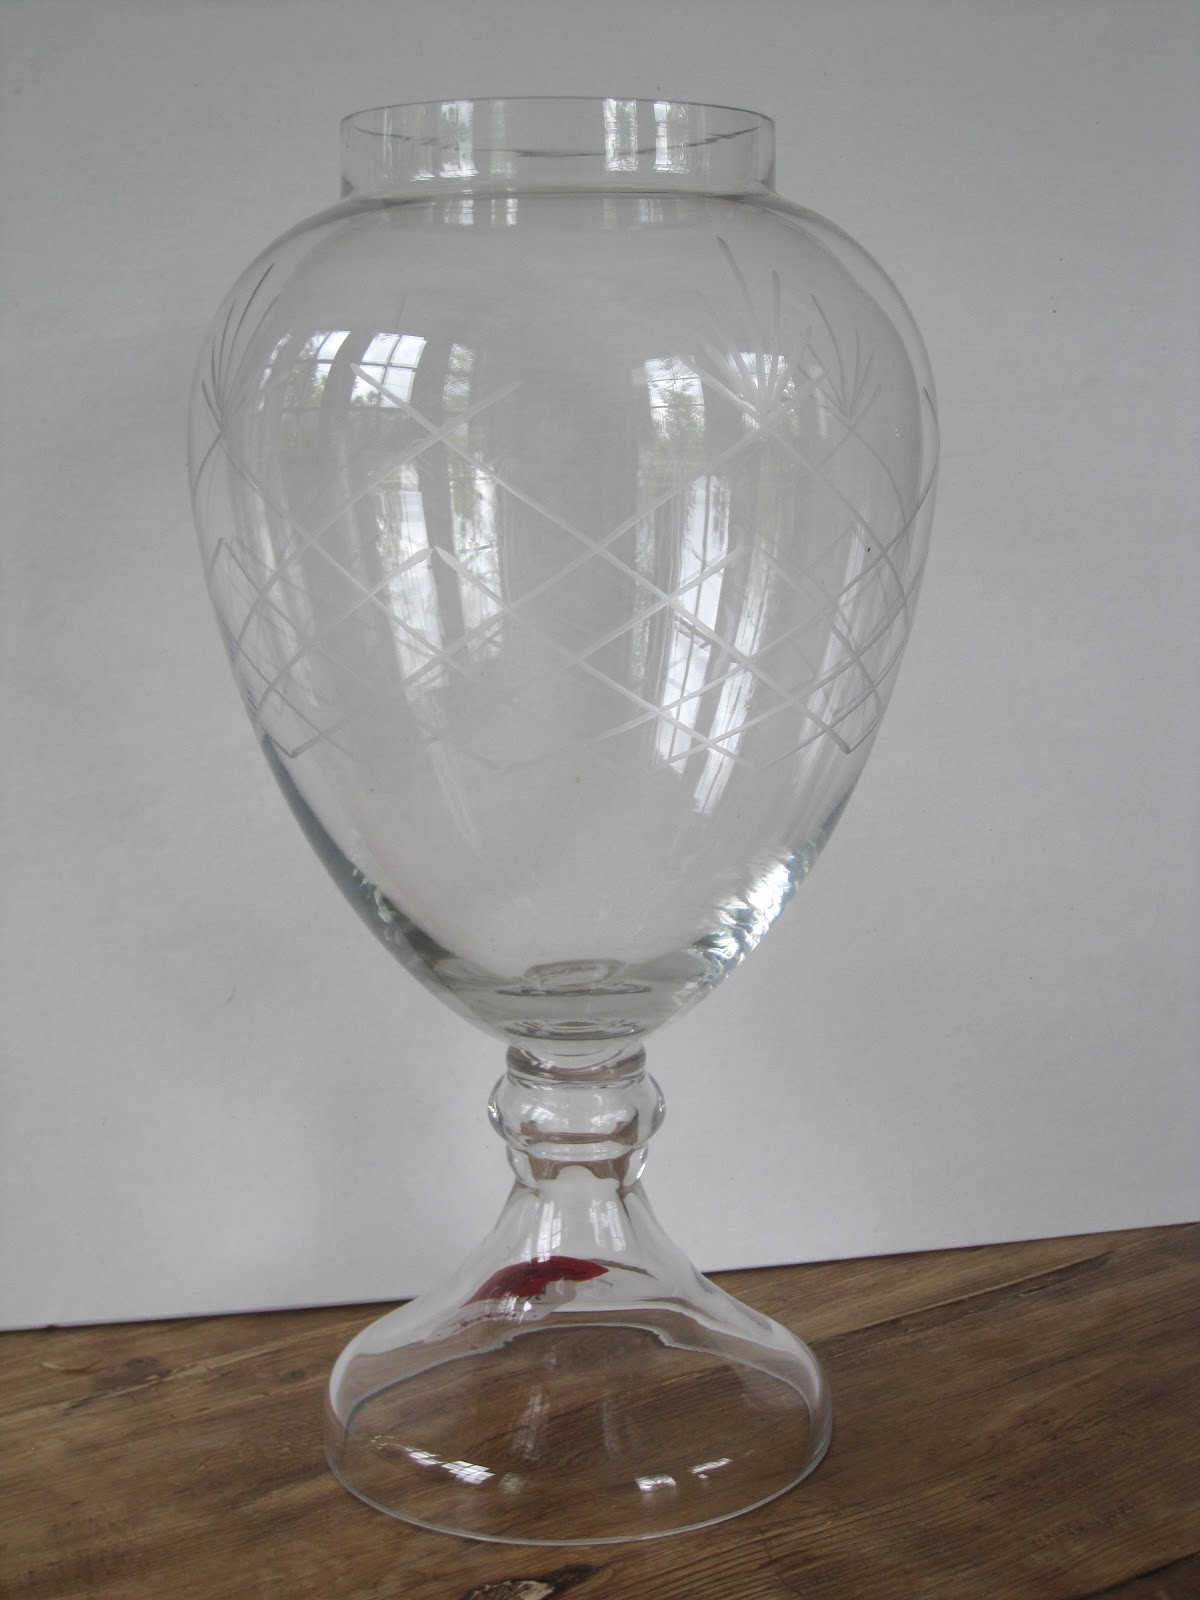
 I chose this glass vase from the TJ Maxx clearance rack, it was $7 and I'm hoping
when I tire of the rope I can remove it and the glue and still have a usable vase.


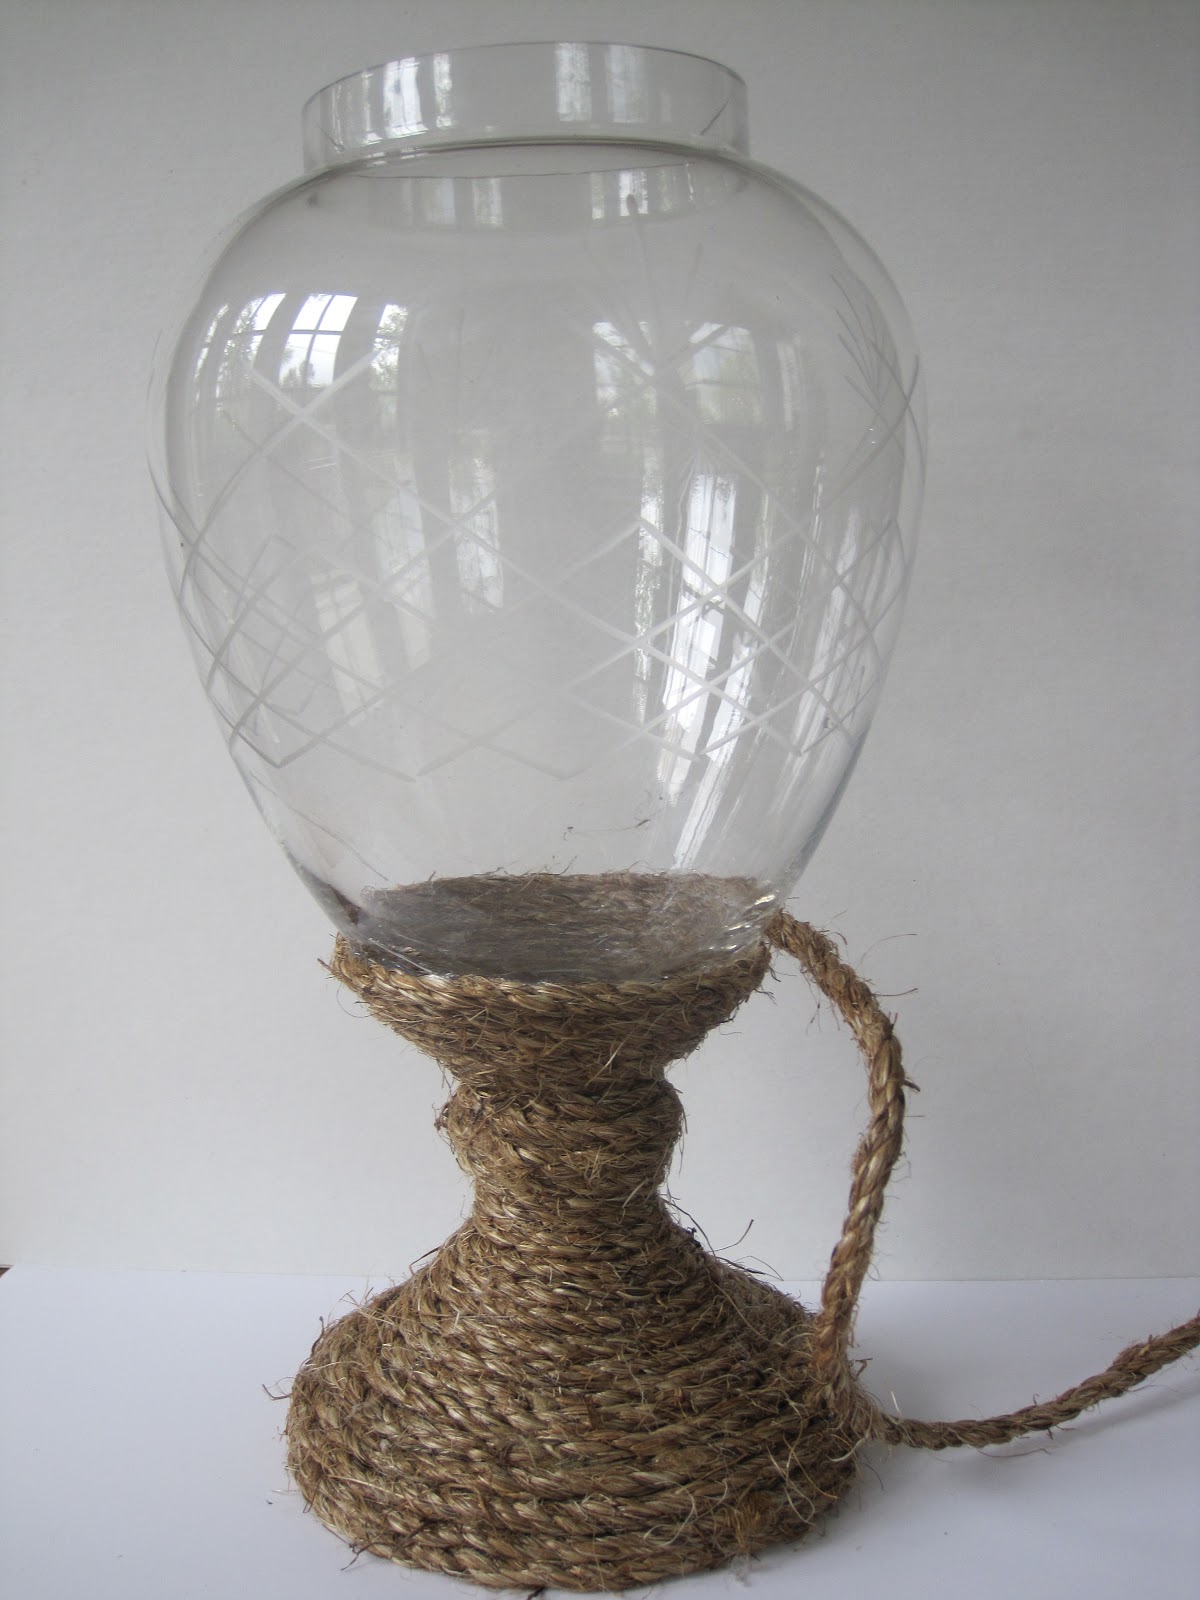
The Manila Rope is 1/4" x 50'  $5.50 at Home Depot,
you'll need two.


Couldn't be easier, using your glue gun secure the rope and keep wrapping and gluing...


...and wrapping and gluing.


Dang! Run to Home Depot to get more rope!
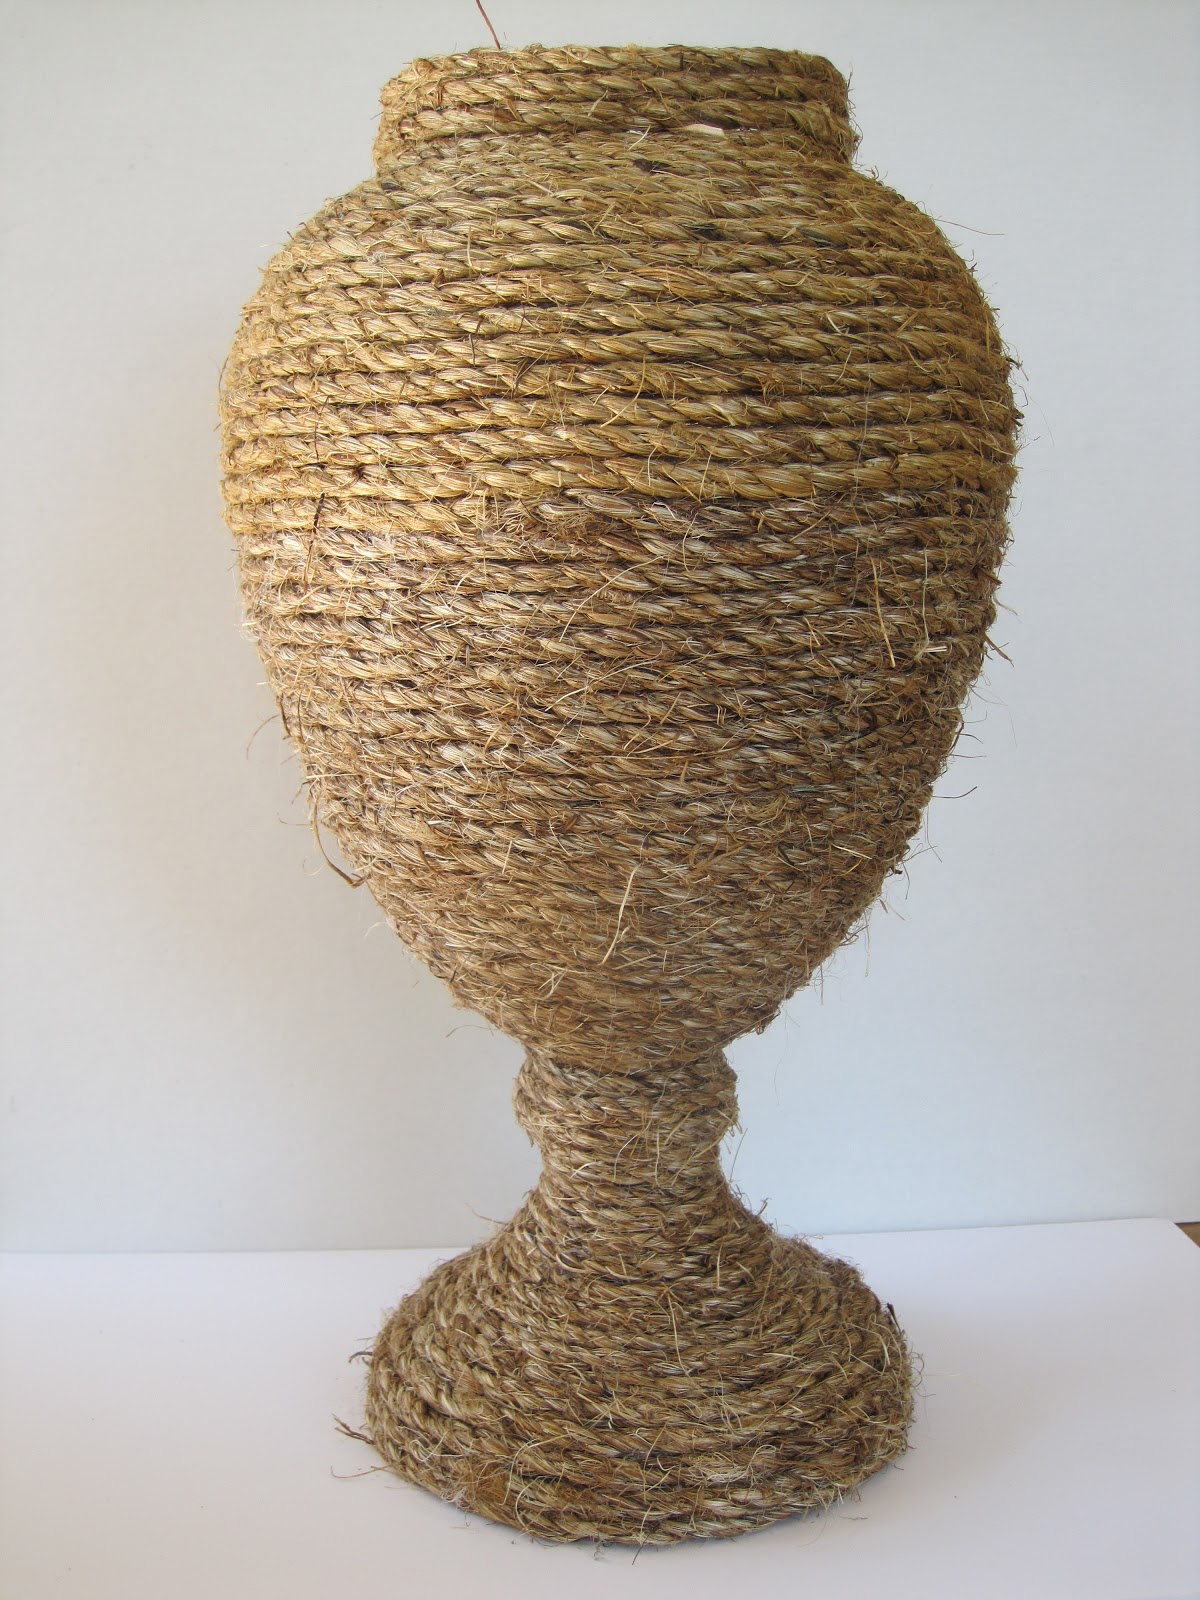
For reference my vase is 14" tall and 27" in circumference.


Ta da!
  You really don't notice the difference in shades of rope in person.


It's a quick project, probably an hour or so putting it together.
  It would even be a fun, unique Mother's Day gift!

Join me at

 Uncommon Slice of Suburbia's Tuesday Treasures here
Home Stories A to Z Tutorials & Tips here
Southern Savvy Wow us Wednesdays here
The Shabby Nest Frugal Friday here
At the Picket Fence Inspiration Friday here

Friday, April 27, 2012

careful what you ask for!


You were all so kind and encouraging about my first fashion post,
so here's #2, by the way, thank you SO much!!

Today I'm guest posting for my darling friend, Katie @ Miss Dixie, here.
I've mentioned her several times, she chats about diy, design, food, fashion, fun weekends
boating and eating in her home town of San Diego! She's celebrating her second anniversary
 in the Bahamas this week. Congrats, Katie, hope you two are enjoying every relaxing minute!

I'm sharing several ways to freshen up a basic 
EVERYONE
has in their closet!
 (Even The Duchess of Cambridge has one, isn't she the cutest?)

thecollinshome.blogspot.com 
Pop over to Katie's blog and check out the new ways you can add some
zip to an old favorite!

Have a wonderful weekend my friends, you're the BEST!!


Wednesday, April 25, 2012

cinco de mayo...


...a perfect opportunity to get together with friends!
Mexican Food and margaritas couldn't be easier, and I'm sharing ideas early enough
 for you to call up your pals and get organized!
My friends don't mind helping out with menu items, they're just happy it's not at their house!
 Ask someone to bring the appetizer, someone the dessert and you're set!
  Kiddos are invited and this menu passed the test previously.

Today, this diy centerpiece idea and the menu.
For my Cinco de Mayo table setting and mini version of the centerpiece go here!

marthastewart.com
Have you seen this urn covered in rope? Isn't it cool?
It's from Martha, I couldn't find any instructions specific to the urn,
but instructions for other items she has covered in rope can be found here.

MENU

Tortilla Chips with Shrimp Ceviche Dip
Carnita Style Beef with Roasted Peppers & Onions
Homemade Refried Beans
Flour & Corn Tortillas
Cabbage Slaw with Radishes, Cilantro & Scallions
Creamy Flan

This menu and recipes are all from Pioneer Woman Cooks you can find them here.
I've made it all before, it's easy and delicious!

(all photos courtesy of Pioneer Woman Cooks)
TPW_5542

The recipe says to cook the beef 1 1/2 hours, mine took much longer until
it was tender and easily shredded, closer to 3-4 hours.  

TPW_5555

To save time and keep it simple I purchased pre-packaged shredded slaw,
and added the remaining ingredients.

TPW_5468

TPW_5522

TPW_5605

My crockpot recipe for Refried Beans 


                     3 C. Pinto Beans
                     7 C. Water 
                     1 Onion - chopped
                     4 Cloves Garlic
                     1 lb. Bacon
                     3-4 t. Salt

           Put all ingredients in crock pot.  Cook on high 8 hours.  Put through blender or food
           processor or mash depending on desired consistency.  Season to taste with additional
           salt and pepper. These are a staple at our house and freeze well if placed in freezer
           bags. Can be prepared the day before and refrigerated.  


Invite sus amigos!


Tuesday, April 24, 2012

testing, testing, 1, 2, 3


Woo hoo!
Can you believe it, progress on the dining room, by accident! 
I brought home the 8 x 10 rug for a test, and I think it passed!
If you need to catch up I gave you the scoop yesterday.


Lovely chairs, I know!  
The next BIG decision...do I even like them enough to reupholster them?
I wouldn't mind either 2 head chairs or 4 side chairs, but not 6 of the same.
 And, I'm not sure about the curved top.


The rug flattened out nicely for being tightly rolled up, except that one little crinkle on the left,
I think with a weight on it tonight it will be fine.

This photo shows the rug next to a truer read on the paint color.


Progress...to be continued... 
  

Monday, April 23, 2012

are you one of the 17,000?


According to Better Homes and Gardens this photo has been pinned over
 17,000 times on Pinterest!
What draws you to this room?
For me it's the bold statement of the large patterned rug,
impact, but in a subtle way because of the neutral tones!

bhg.com

Look what I spotted in stock at Home Depot last Friday, certainly not exact,
 but could achieve a similar vibe, don't you think?
Mowhawk, Simpatico Model #301293 here
  The quality is in line with the inexpensive price tag -  $187 for an 8 x 10!
It had 25 reviews and got a 4.5 out of 5 rating.


I haven't forgotten about the dining room update I was working on,
but hadn't found anything that spoke to me until I saw this.
I brought home the 5 x 7 as a test.
This time of day the paint takes on a more yellow tone,
 during most of the day it is lighter, but still a little creamier than the white in the rug .


 In this photo you can see the short pile easier, it certainly isn't dense,
 but the backing doesn't show when you separate the fibers.


Does anyone know the source for the rug in the original bhg photo,
 on their site there were a lot of comments asking, but no reply.

What do you think?


Sunday, April 22, 2012

diy evergreen spiral topiary


It was a diy weekend for sure,
digging in yard
drudgery in yard
details in yard!

Do you love those pricey spiral shaped evergreen topiaries? If so, you're in luck!
 I shaped a couple of my own a few years ago,
 but our gardener hadn't kept them trimmed in my dreams so I decided to do it myself
 and show you how easy it is to create one.

It works well with smaller potted evergreens, as well.


gapphoto.com


BEFORE


AFTER


BEFORE


AFTER


Search google images for a style you like.
It's best to start with a young tree, you can find them inexpensively at Home Depot. 
Coil twine around the tree, this will be your cutting pattern. 


Before cutting any branch I double check how it will look by simply pulling
 it away from the tree to be sure I'm happy with the appearance once it's GONE!  

Make a deep cut to the center of the tree and follow the line created by the twine.
 (I use electric hedge clippers, but you may want to try something manual to begin with) 


In the open area trim any small branches or debris from the trunk,
 you want it  nice and clean for definition.


Keep following your pattern, standing back and taking a look,
 tweaking where necessary.


After you have the basic shape you like go back and round the edges with the clippers.


Mother Nature provided me with a large spot bare of branches in the back,
so you can see I went with Plan B when I got to the top! 


I doubt you'll see Plan B on any google image search,
but I'm happy it's trimmed and the diy (details in yard) are shaping up! :)


Thursday, April 19, 2012

think outside the pot...


Are you anxious as I am to start planting your pots? I thought it would be fun to include
a conversation piece on the patio.
I haven't committed to anything yet, but these clever ideas have me thinking
outside of the box pot!
funky junk interiors
recaptured charm
 walnutspears.com
besthomedesigns.org
thestonefacecreations.com


firstsense.wordpress.com

thisoldhouse.com

and my favorite!
tumblr.com


Hope the weekend finds you enjoying some sunshine!


Related Posts Plugin for WordPress, Blogger...
 
Pin It button on image hover